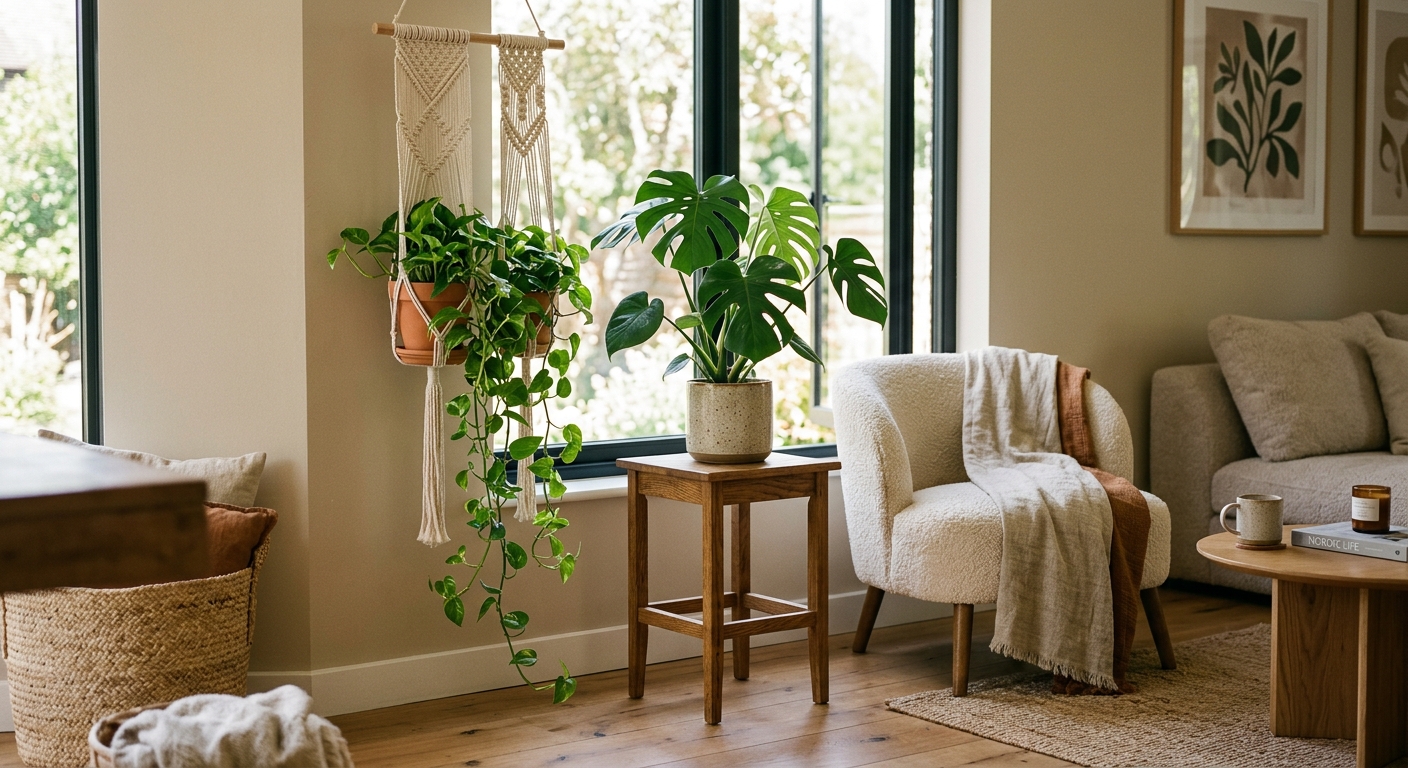
How Can I Make a DIY Plant Stand?
Building a DIY plant stand requires basic woodworking tools, untreated lumber, and 3-5 hours for a beginner. The Royal Horticultural Society estimates homemade stands cost 40-60% less than retail equivalents while allowing exact sizing for your space.
Tools You’ll Need
- Circular saw or handsaw (cuts 2x4 pine to length)
- Drill/driver with ⅛” pilot bit and #8 countersink
- Sandpaper (120-grit for smoothing edges)
- Clamps (2+ bar clamps for glue-ups)
- Measuring tape and carpenter’s square
Choosing the Right Wood
For indoor stands, pine or poplar balances affordability and stability (shrinks 3-5% less than oak during humidity swings). Outdoor projects need cedar or pressure-treated lumber—standard pallet wood holds 200+ lbs when doubled up.
Pro tip: Pre-cut lumber at hardware stores eliminates saw needs—ask for 24”, 18”, and 12” lengths of 2x4.
See our gallery of DIY plant stand projects for visual inspiration.
What’s the Easiest DIY Plant Stand for Beginners?
A three-legged stool-style stand using pre-cut wood and dowel joints takes under 2 hours with no power tools. The University of Illinois Extension recommends this design for its 25-lb weight capacity and minimal material list.
Materials:
- (3) 18” pine 2x2s ($2 each)
- (1) 12” round plywood top (⅝” thick)
- Wood glue and ⅜” dowels
Steps:
- Drill 1”-deep holes at 15° angles in the plywood edge
- Insert dowels into legs with glue, then attach to base
- Sand all surfaces and seal with water-based polyurethane
Why it works: The triangular footprint prevents tipping, while the small footprint fits balcony railings. Small plant stands under 18” wide follow similar principles.
How Do You Build a Multi-Tier Plant Stand from Pallets?
One standard 48”x40” pallet yields a 3-tier stand holding 150+ lbs when reinforced. OSHA-certified pallets (marked HT for heat-treated) avoid chemical risks and withstand outdoor use for 3-5 years untreated.
Key measurements:
- Base tier: 24”W x 16”D (cut from pallet deck boards)
- Middle tier: 18”W x 12”D (use pallet runners as legs)
- Top tier: 12”W x 8”D (attach with 3” lag screws)
Safety check:
- Space tiers 12” apart for light penetration
- Angle grinder removes protruding nails
- Line shelves with landscape fabric to catch drainage
Multi-tier plant stands over 36” tall need cross-bracing—add 45° supports between legs.
Can You Make a No-Tools Plant Hanger with Macrame?
A 4-cord macrame hanger supports 12” pots using just 15 feet of 5mm cotton rope and scissors. The International Knot Tying Institute confirms square knots distribute weight evenly, preventing slippage with heavy plants.
Pattern basics:
- Fold ropes in half, creating 8 strands
- Tie square knots 4” below the loop
- Separate into 4 groups, knotting each pair 6” down
- Gather all cords to cinch beneath the pot
Load limits:
- 5mm rope: 15 lbs max
- 8mm rope: 25 lbs max
What Safety Tips Matter for DIY Plant Stands?
Freestanding stands over 30” tall require a base width equal to 40% of their height to prevent tipping—a 36” stand needs a 14.4” minimum base. ASTM F2057 safety standards recommend this ratio for top-heavy loads.
Critical checks:
- Outdoor stands: Elevate legs 1” off damp surfaces to prevent rot
- Weight test: Load stand with 1.5x intended weight for 24 hours before use
- Wall anchors: Secure tall stands to studs with earthquake straps in seismic zones
Plant stand care FAQs cover weathering treatments and stability audits.
What’s the Bottom Line on DIY Plant Stands?
DIY plant stands save $20-$80 per unit versus retail while offering exact sizing and material control.
• Cost: $10-$50 in materials vs. $30-$130 for pre-made
• Time: 2-5 hours for beginner projects
• Customization: Adjust shelf spacing for trailing plants like pothos
• Pre-made option: Modern plant stands suit renters or time-crunched builders